

Introduction
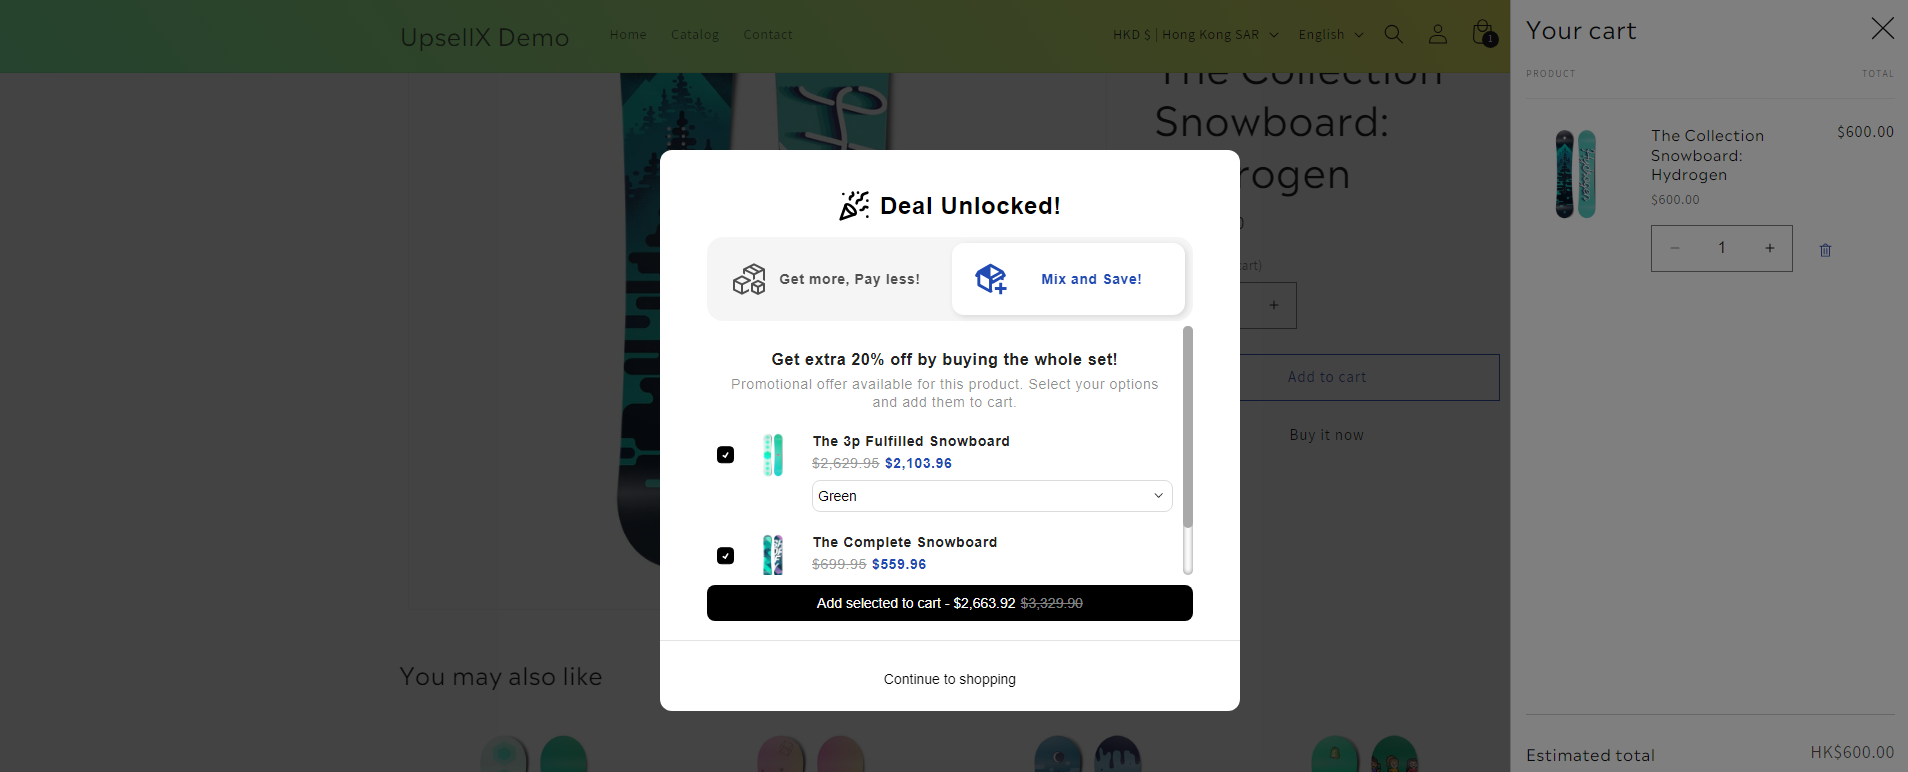
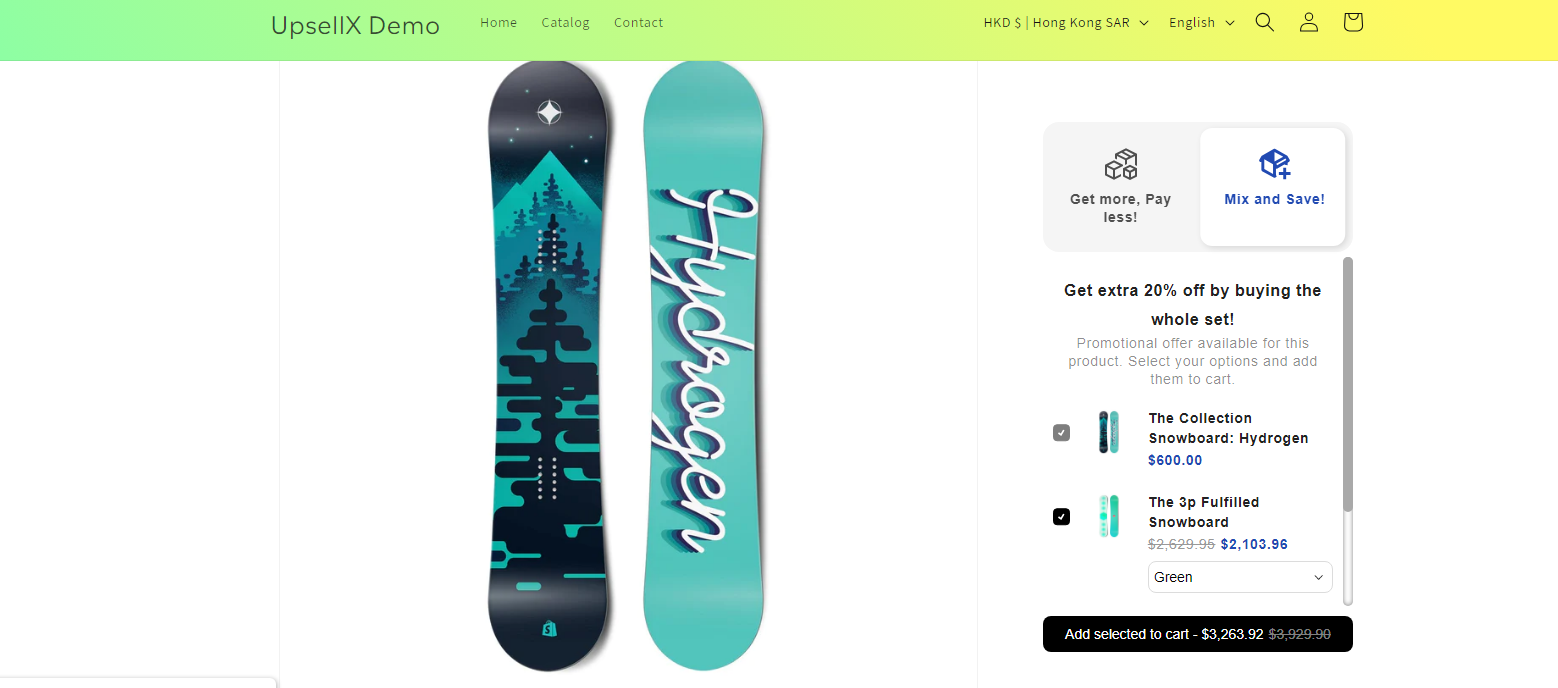
Cross sell is a discount type offered by UpsellX to boost your sales. It allows customers to enjoy a percentage or amount of discount when customer mix purchase with other products
OR
Sounds interesting? Let's move forward! In the following article, we will guide you through the settings and how to set up the cross sell discount in detail.
Note: Make sure you've followed the `How to configure UpsellX` guide to configure your UpsellX app. Click here for the guide if you haven't done so yet.
What's covered in this guide?
- Discount Setup
- Embedded Settings
1 Discount Setup
1.1 Create Discount
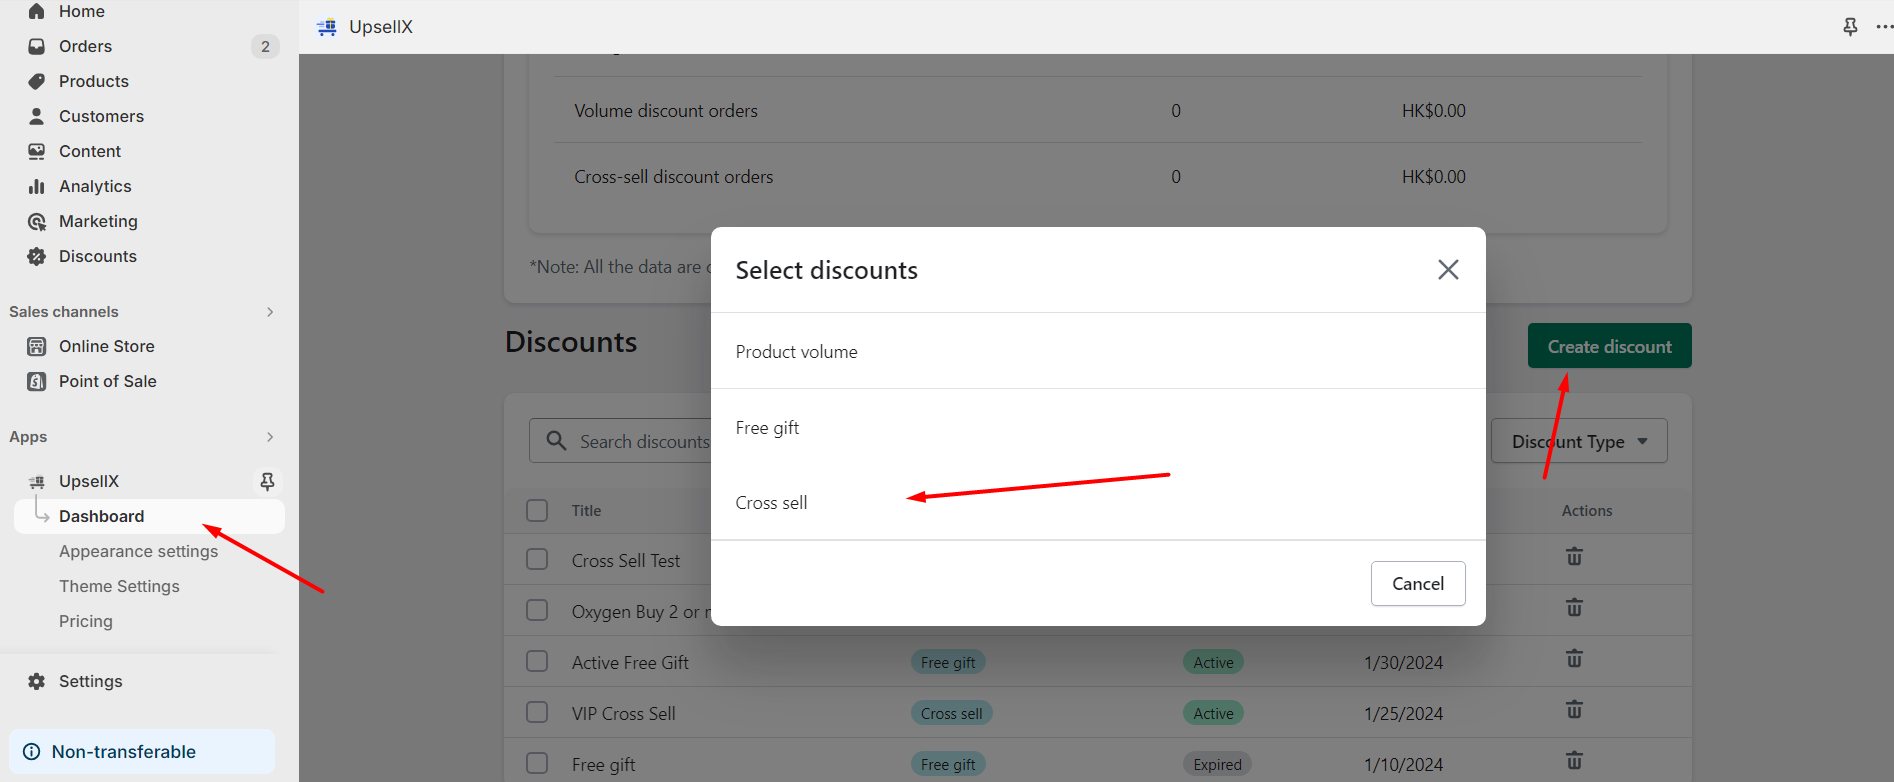
Click on the Dashboard from `UpsellX` app and click on the `Create Discount` button. Choose the `Cross sell` discount
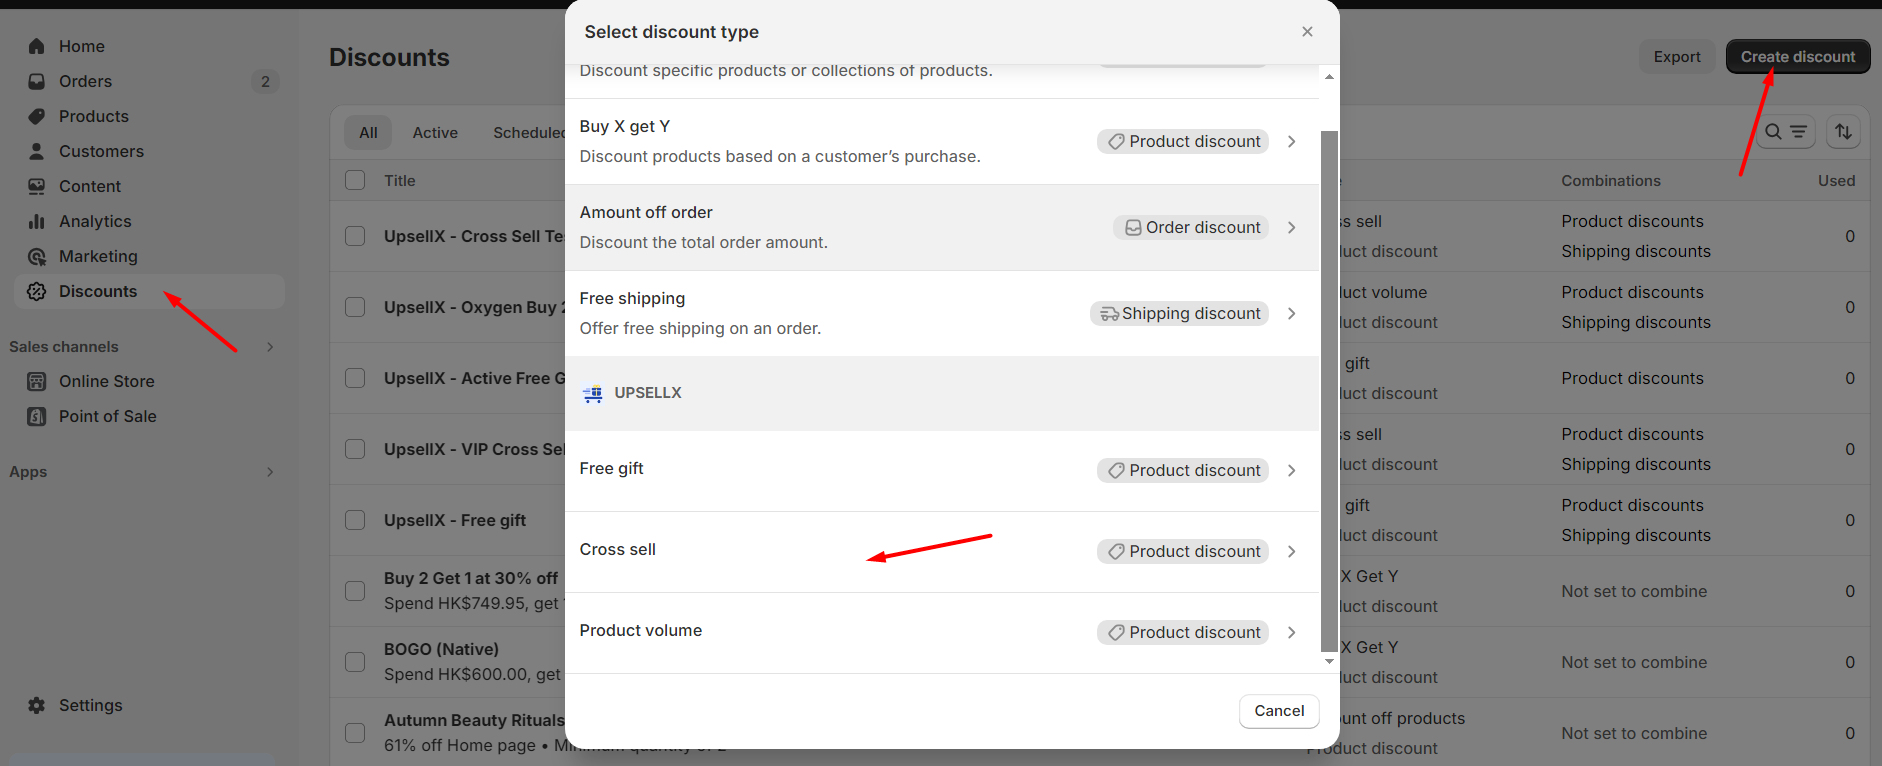
Go to the Shopify's Discount page, click on the `Create Discount` under the `UPSELLX` choose the `Cross sell` discount
1.2 Configure Discount
Cross sell
In the `Create Cross Sell` page, there will be Title (Internal reference only. Customer won’t see this title) and Discount message (This message will display below the discounted item in the cart), fill up with your desire title and message.

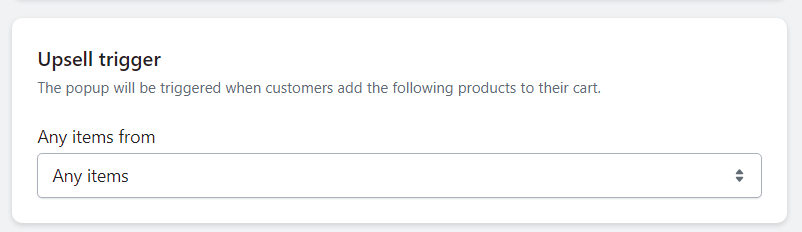
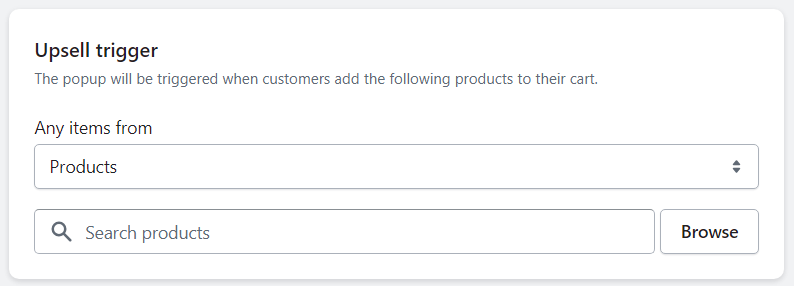
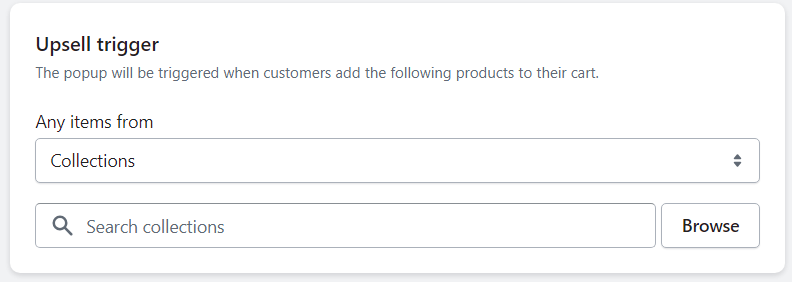
Upsell Trigger
You can choose the discount will be triggered by any items, certain product(s) or certain collection(s)
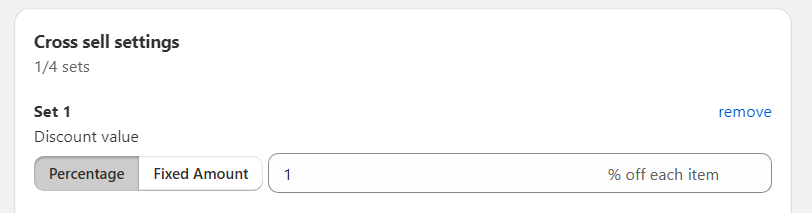
Cross sell settings
You can have multiple settings with different discount options
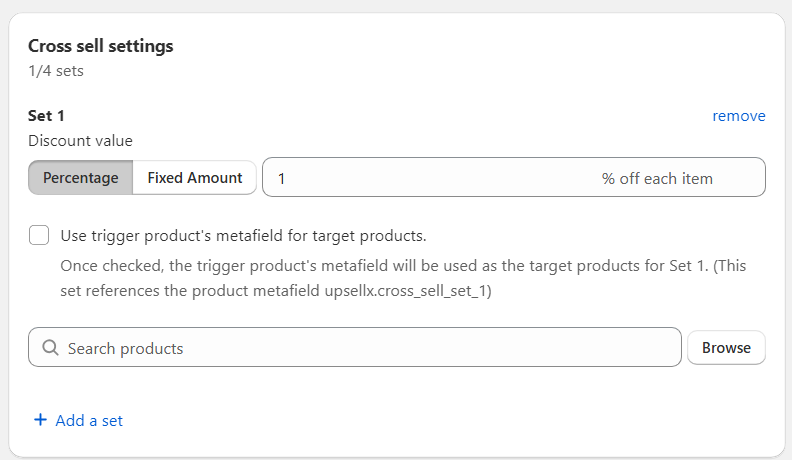
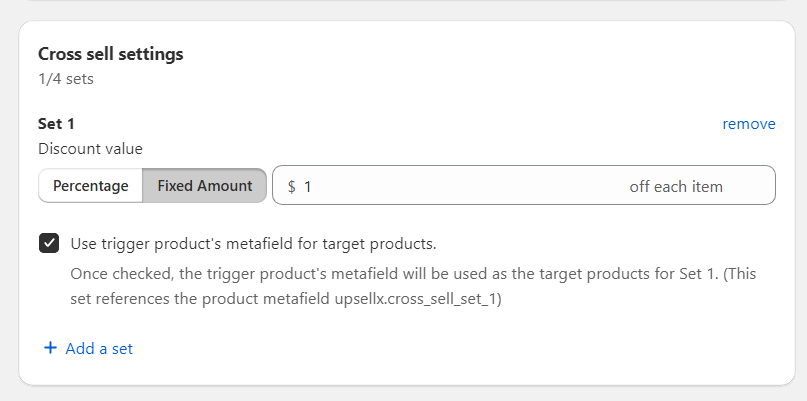
Pick the percentage or fixed amount, which they will be entitled after the discount applied
And Choose products which you want to add in the cross selling

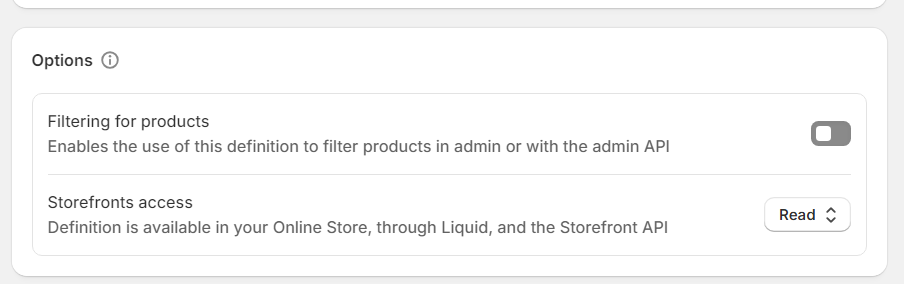
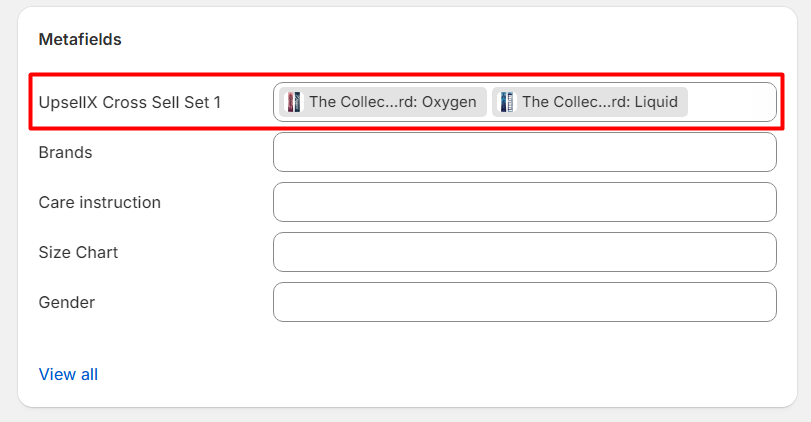
Optional: Use trigger product's metafield for target products
This setting allowed you to have target product that set in the product metafield separately, which allowed you to have different target products for different products.
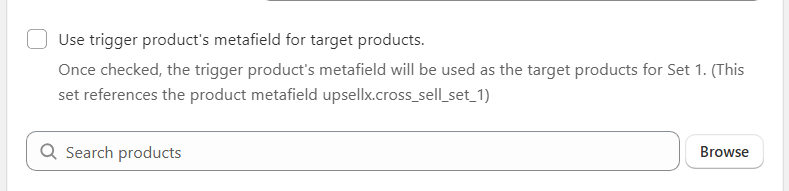
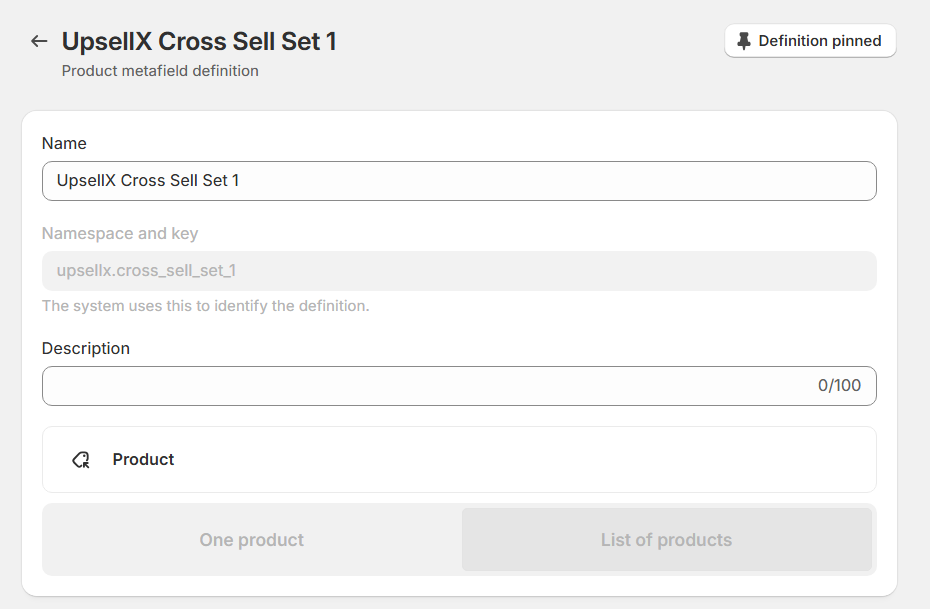
In replacement for products, you will need to create product metafields definition with namespace of upsellx and key of cross_sell_set_x (x will be replaced by the set number respectively)
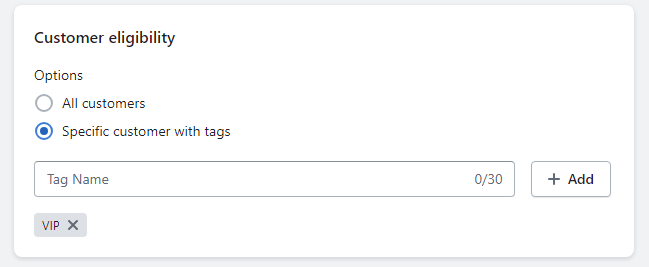
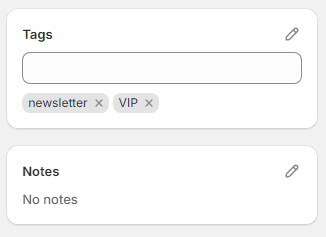
Customer eligibility
You can choose either the all customer will be eligibled or only certain customer with the customer tag will be eligibled

Combinations
You can choose what type of discounts from other discounts can be combined usage with this discount.

Active dates
You can set the start of the discount, and optionally, you can set the end date of the discount
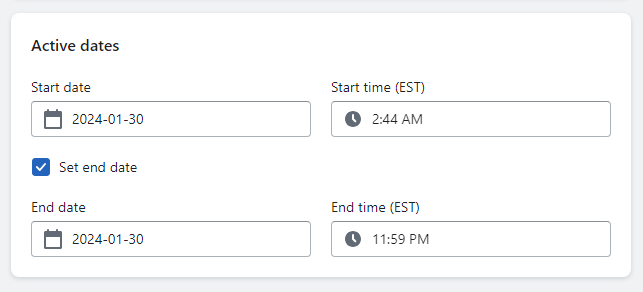
Note: Only one discount can be active at a time. If you have multiple discounts available, you can schedule the second one for a future date. The first discount will automatically be replaced when the second one's start date arrives.
2 Embedded Settings
If you followed the `How to configure UpsellX` guide you should went through the setting before.
Click here for the guide
In this guide, scroll to the `2 Add UpsellX Block in theme` in this section will have the guide to choose the display type.
Conclusion
Our goal is to make shopping enjoyable, hassle-free, and tailored to each individual customer. We're committed to constantly improving our technology to stay ahead of the curve
If you require assistance with configuring UpsellX app, please contact us and we will be happy to help
Introduction
Cross sell is a discount type offered by UpsellX to boost your sales. It allows customers to enjoy a percentage or amount of discount when customer mix purchase with other products
OR
Sounds interesting? Let's move forward! In the following article, we will guide you through the settings and how to set up the cross sell discount in detail.
Note: Make sure you've followed the `How to configure UpsellX` guide to configure your UpsellX app. Click here for the guide if you haven't done so yet.
What's covered in this guide?
- Discount Setup
- Embedded Settings
1 Discount Setup
1.1 Create Discount
Click on the Dashboard from `UpsellX` app and click on the `Create Discount` button. Choose the `Cross sell` discount
Go to the Shopify's Discount page, click on the `Create Discount` under the `UPSELLX` choose the `Cross sell` discount
1.2 Configure Discount
Cross sell
In the `Create Cross Sell` page, there will be Title (Internal reference only. Customer won’t see this title) and Discount message (This message will display below the discounted item in the cart), fill up with your desire title and message.
Upsell Trigger
You can choose the discount will be triggered by any items, certain product(s) or certain collection(s)
Cross sell settings
You can have multiple settings with different discount options
Pick the percentage or fixed amount, which they will be entitled after the discount applied
And Choose products which you want to add in the cross selling
Optional: Use trigger product's metafield for target products
This setting allowed you to have target product that set in the product metafield separately, which allowed you to have different target products for different products.
In replacement for products, you will need to create product metafields definition with namespace of upsellx and key of cross_sell_set_x (x will be replaced by the set number respectively)
Customer eligibility
You can choose either the all customer will be eligibled or only certain customer with the customer tag will be eligibled
Combinations
You can choose what type of discounts from other discounts can be combined usage with this discount.
Active dates
You can set the start of the discount, and optionally, you can set the end date of the discount
Note: Only one discount can be active at a time. If you have multiple discounts available, you can schedule the second one for a future date. The first discount will automatically be replaced when the second one's start date arrives.
2 Embedded Settings
If you followed the `How to configure UpsellX` guide you should went through the setting before.
Click here for the guide
In this guide, scroll to the `2 Add UpsellX Block in theme` in this section will have the guide to choose the display type.
Conclusion
Our goal is to make shopping enjoyable, hassle-free, and tailored to each individual customer. We're committed to constantly improving our technology to stay ahead of the curve
If you require assistance with configuring UpsellX app, please contact us and we will be happy to help